

(click here to go to Chapter One)
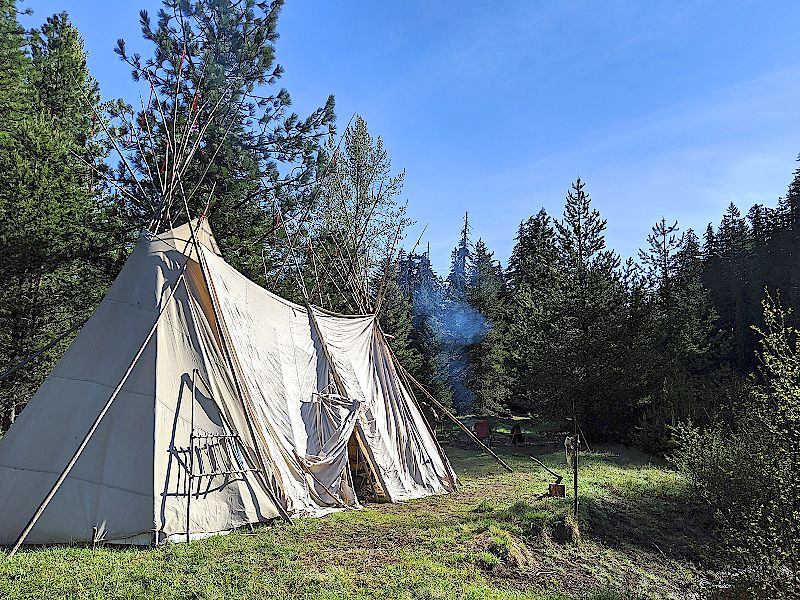
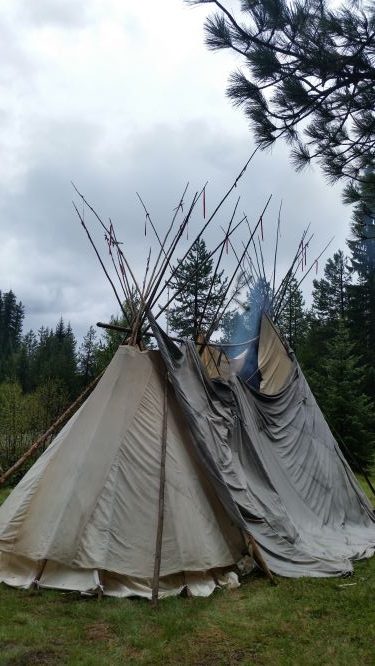
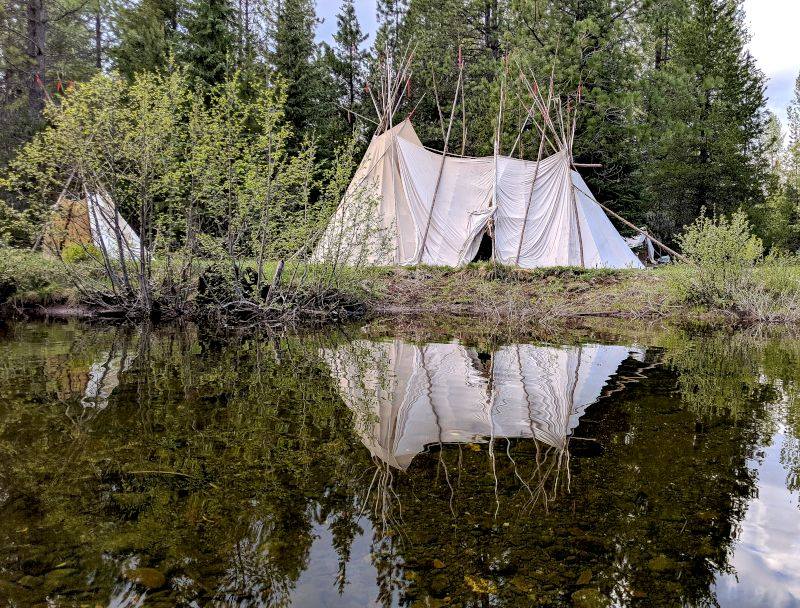
Our longhouse was essentially two tipis married with a ridgepole spanning the distance between them. Panels of canvas covered the center. This was the first time (and maybe the last) I attempted it.
I brought thirty-two poles ranging in length from nineteen to twenty-six feet, three tipi covers, enough treated canvas liners for three tipis, and all the canvas drop cloths I could find, from four by eight foot to twelve by fifteen foot in size, along with a spool of twine and a bunch of rope.
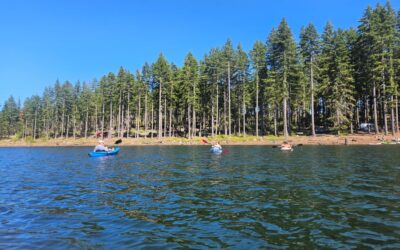
 Once we had chosen our site, a remote, flat, open meadow on the banks of a clear mountain stream, we had to figure out how it went up. I had a general idea of what I wanted to end up with, but the details of how to get there were a little hazy. A lot hazy.
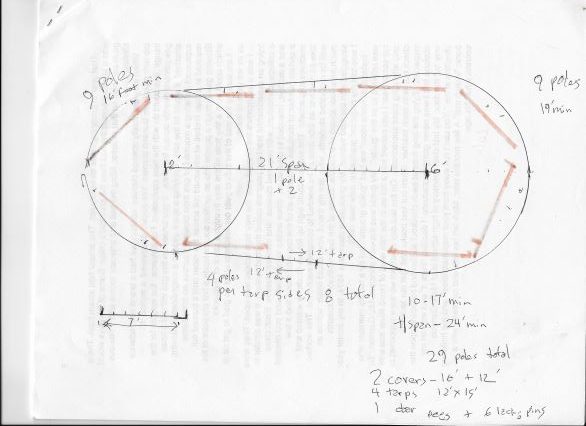
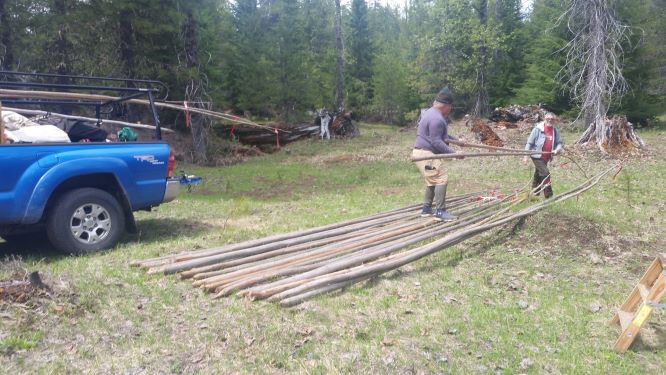 We started by unloading the poles and laying them out, sorted by length. From these we selected eight stout poles; four poles each for the base of the two tipis, a twelve-footer and a sixteen-foot lodge. These would form either end of our longhouse
 I had calculated a 21-foot span between the centers of the two tipis, so we marked that distance off and set up the tipi bases, facing each other. We chose a twenty-six-foot pole for the ridgepole, but how were we going to get it on top of the two bases? After some deliberation, we slid the skinny end of the ridgepole up into the apex of the larger base. We each took a leg of the smaller base and spread the poles apart until that apex was within easy reach. We placed the butt of the ridgepole in the crotch formed by the poles crossing and brought the legs back together to lift it to the correct height. It took some care to prevent the ridgepole from slipping off as we raised it, but it worked just fine.
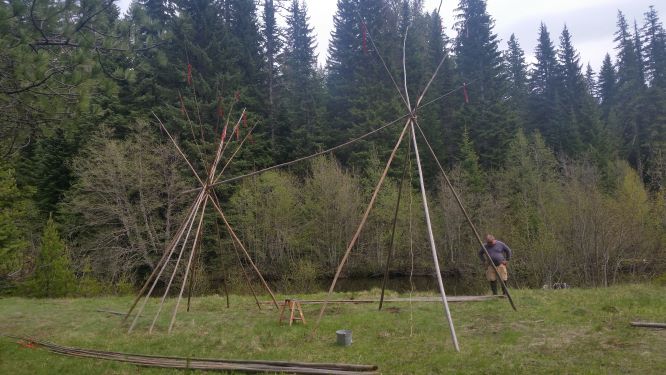
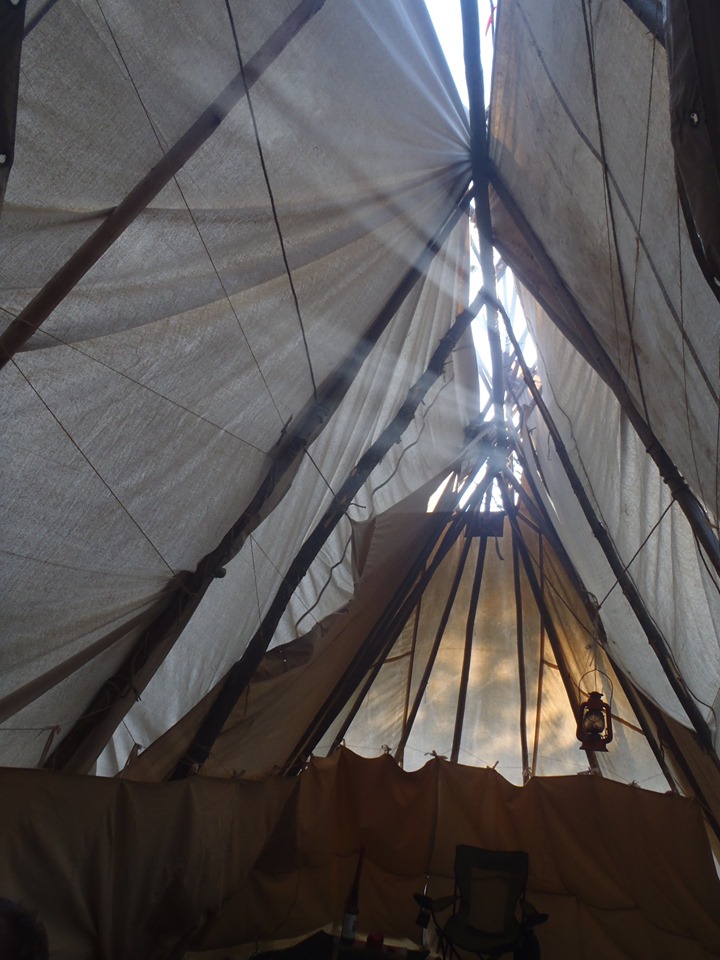
We filled in the tipi with poles around the sides and back of each base, tied the covers to the lifting poles and raised the canvas into place. A pair of poles crossed at the center of the ridge pole provided a place to tie off the bottom corners of the covers. In turn, these lashings kept the center poles from slipping out of place.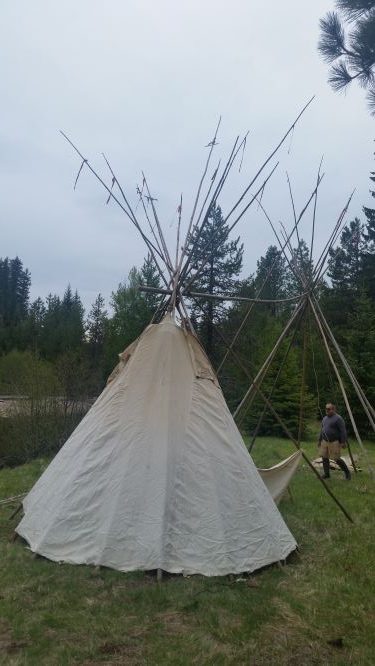
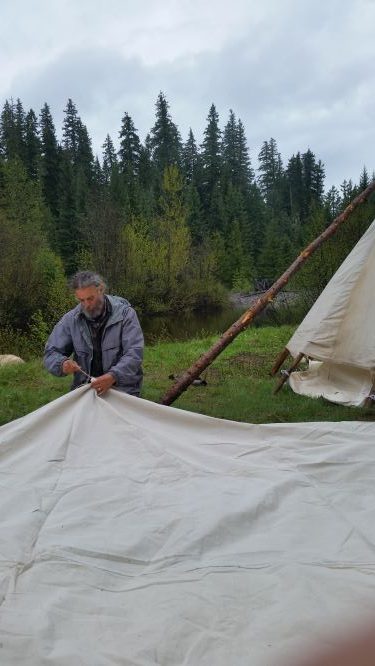
It became apparent we needed poles for the smoke flaps to stretch the top of the canvas out and keep it from sagging. I hadn’t counted on this, so Jason headed into the timber with an axe to procure four more poles. Robert wove a spider web of twine trying to stretch the edges of the tipi covers tight.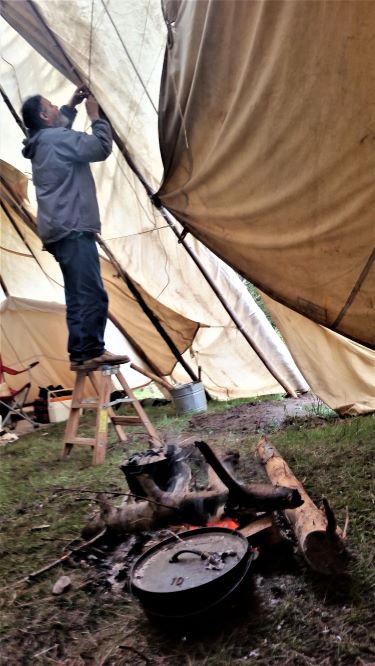
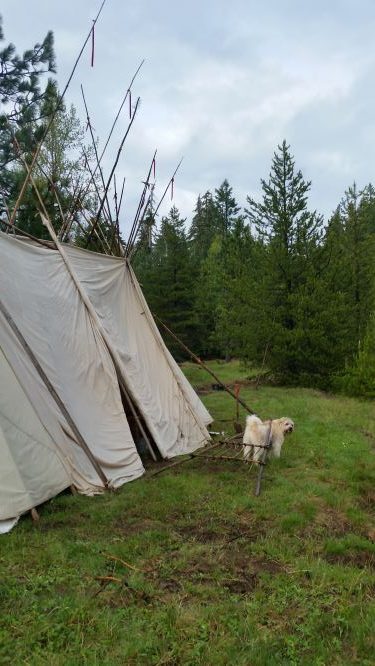
With both ends covered we turned our attention to the center span. We tied two twelve by fifteen-foot canvas drop cloths to poles and lifted them up to form the front wall, leaving a small gap between the panels to make a door.
 My eighteen-foot tipi cover was lifted into place to form the back wall. I had seen this done before, but we didn’t have enough poles or enough muscle to stretch it out properly and it sagged along the top, leaving a wide gap. It looked ugly and it let the weather in, but it was raining and night was coming on so we left it until morning.
The next day Robert and I took it down and replaced it with two more large canvas drop cloths, like we had in the front. We added a couple more poles inside to help keep the walls tight. We tied pebbles in the canvas to provide lashings to secure the edges to our poles.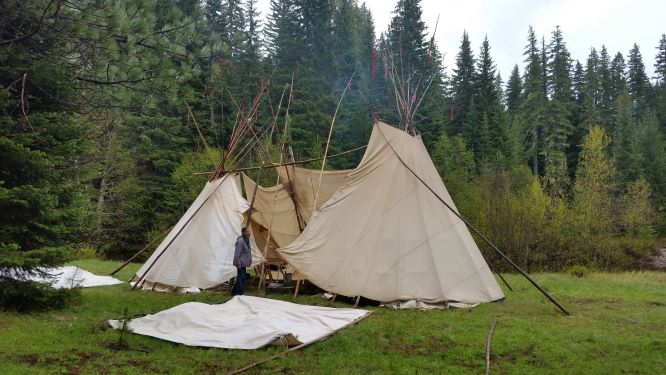
I didn’t intend the canvas at the north end to be off the ground as far as it was, so I buried about eight inches of the lifting pole butt while we were fixing things and that dropped the smaller tipi cover enough we could get some pegs in and close the gap.
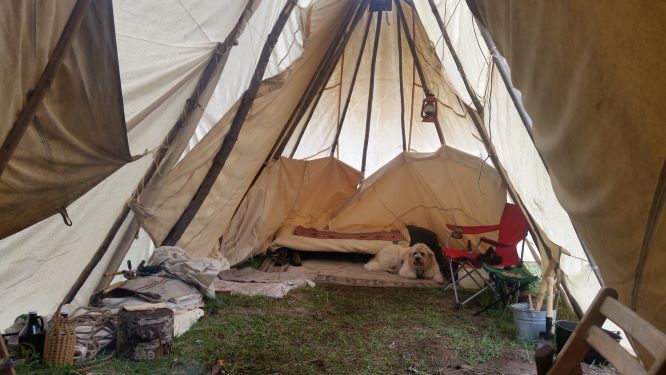
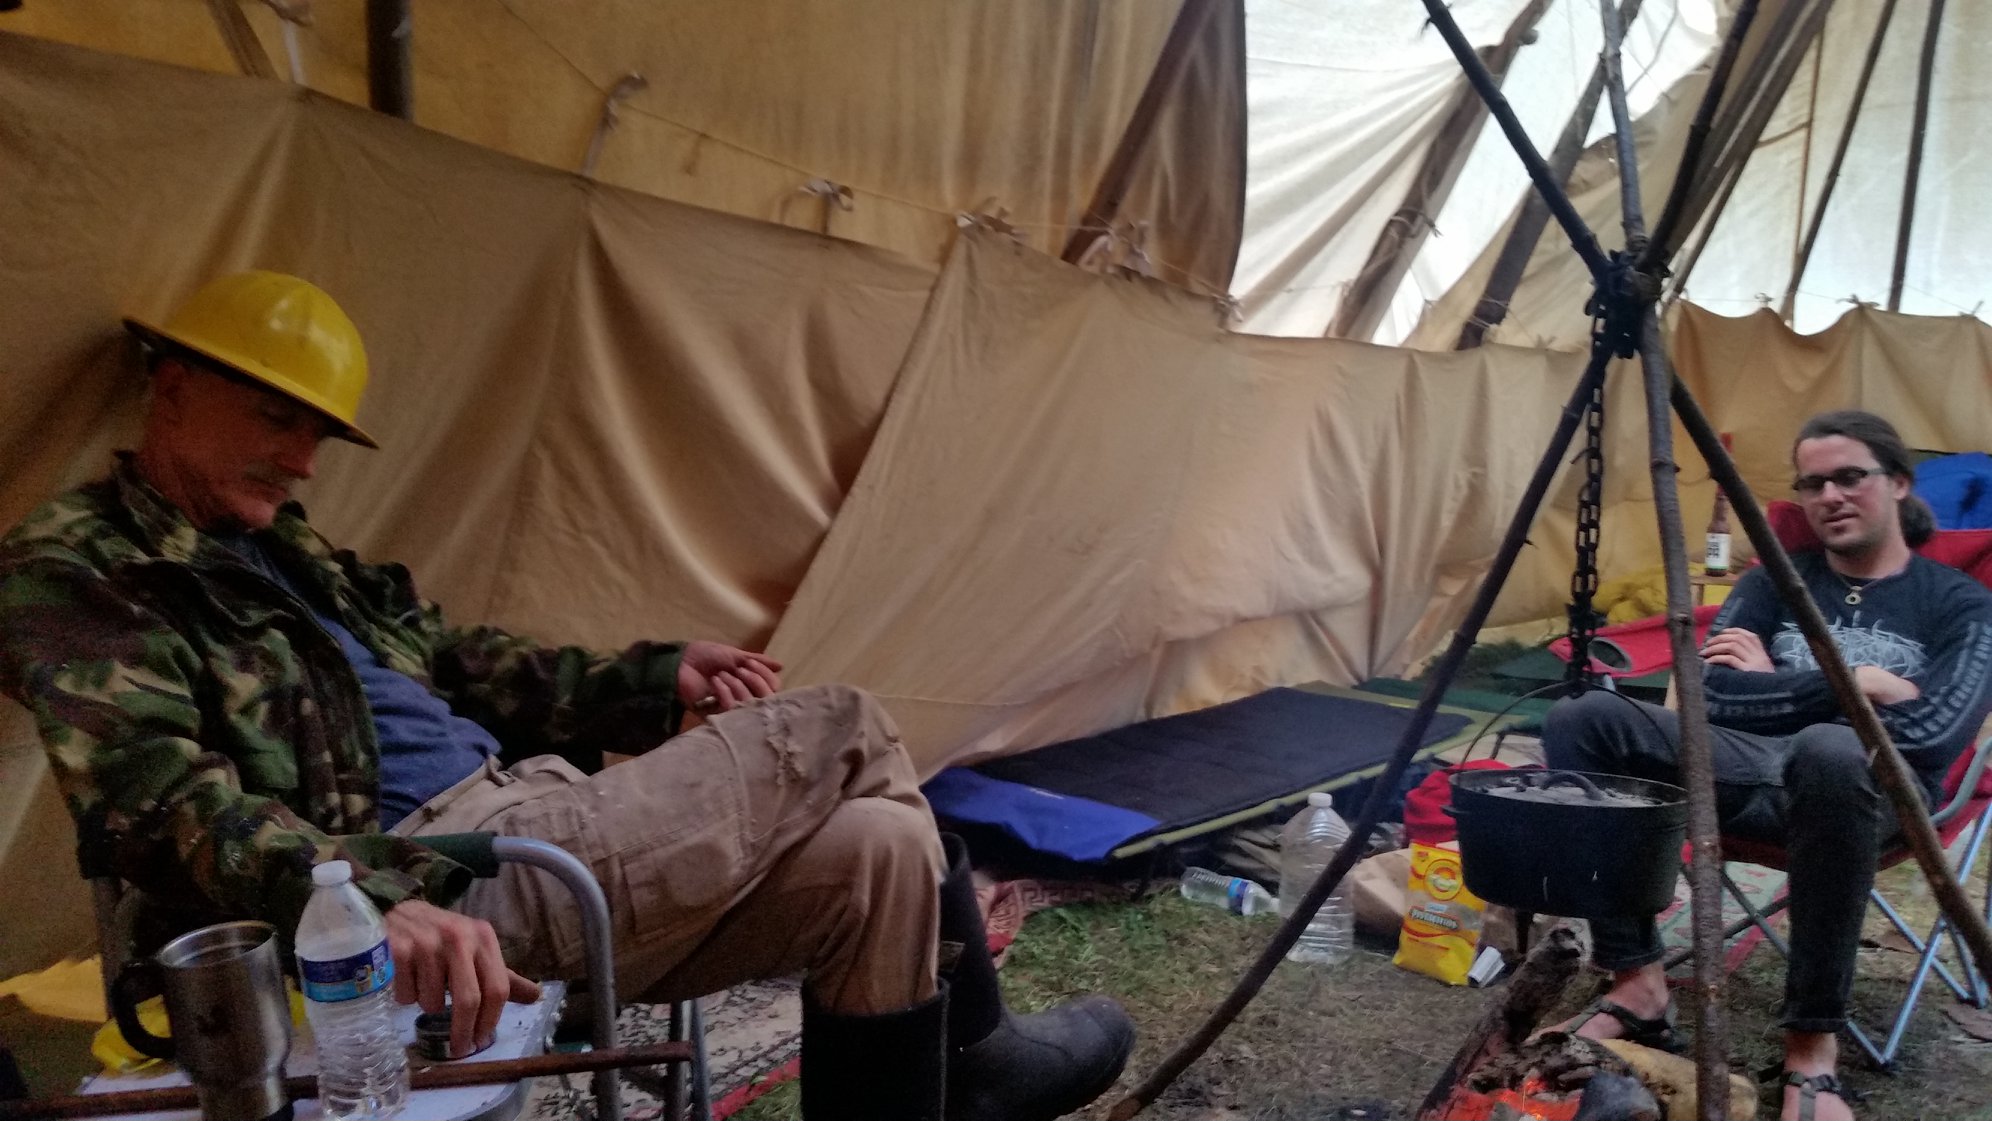 Liner panels hanging inside kept the drips off our bunks. When the wind came up later in the week, we pegged down the ends and added anchor ropes inside and poles on the outside to keep the canvas from flapping.
All in all, it was a good first effort. If I were to do it again, I would erect another four-pole base to support the center span, maybe using two, shorter ridge poles instead of one long one. I would add anchor ropes to the poles the canvas was tied to, guyed to pegs on the outside.

The longhouse makes a wonderful, spacious lodge, but it is a lot of work to set up. Unless you have a big group and you want every one in one place, a couple of large tipis might work just as well.
Chapter 1 Chapter 3 Chapter 4 Chapter 5 Chapter 6


0 Comments