I need forty poles for the longhouse I want to put together next spring, so I stopped by Trout Lake Ranger Station to buy a permit. There are only two plots where harvesting poles is allowed and the selection isn’t great, but what are you going to do?
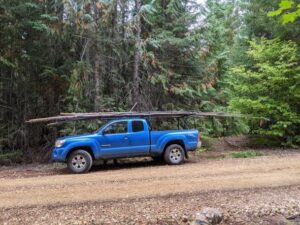
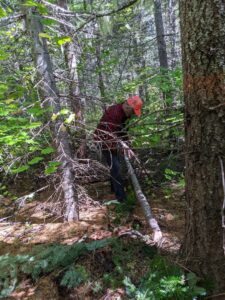 Mike and I left the ranger station and went looking for Plot 2. It was kind of hard to find, but we located it and started looking for skinny suppressed trees to harvest. We cut ten poles in a couple of hours. It took several more trips with Mike and my brother Andy to get all my poles.
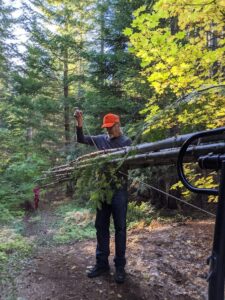
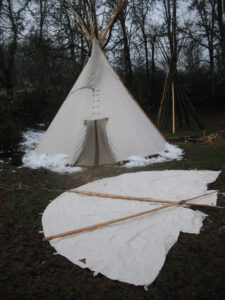
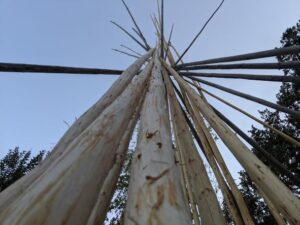
Processing tipi poles begins with harvesting but isn’t over until they are skinned smooth and seasoned. I look for suppressed trees in a dense stand. These will have fewer and much smaller branches, which is important. Each knot becomes a drip point. Select poles 4 to 10 feet longer than your lodge. Ideally, these will be 3″ to 4″ at the base with very little taper. 5″-6″ at the base will work, but thicker poles are heavy and if they are too thick at the tie point, they will be hard to stack neatly.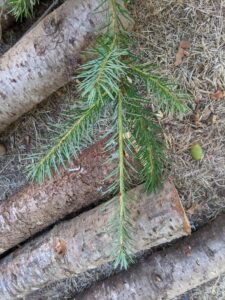
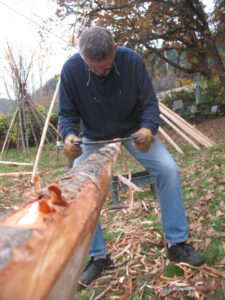 Skin them green – it is much harder to get the bark off when they are dead and dry. Hold your draw knife with the bevel down to avoid digging into the wood. Be sure to get the inner bark too, and take time to remove the stubs and smooth all the knots.
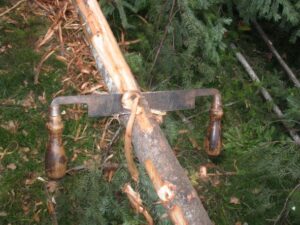
When you are done, stand them upright as close to vertical as is practical. Leaning them in the crotch of a tree works well. Give them a quarter turn every day or so to reduce warping. When they are done seasoning, they will be hard and much lighter. A green pole put right to work will quickly warp.
One last thing: if you harvested your poles with a saw, chop a point on the butt. A flat butt slides across the ground. A point makes it easier to set up and helps keep the tipi from walking in a high wind.





0 Comments