

Making a tipi can be tedious; it involves sewing numerous strips of canvas together until you have a large enough piece to cut your pattern from. Buying a pre-made cover is expensive, for the same reason.
For several years, Billy Maxwell has been telling me about a much simpler, less expensive way to make a tipi using painter’s drop cloths. Intrigued, I made several paper models and tried to convince myself I really needed another tipi. I finally decided to do it. 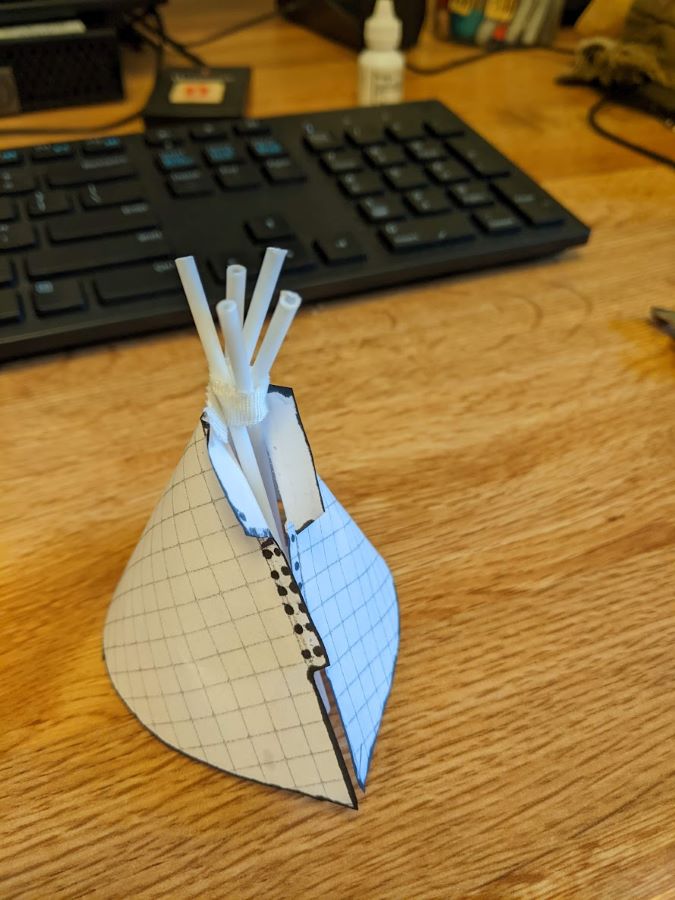
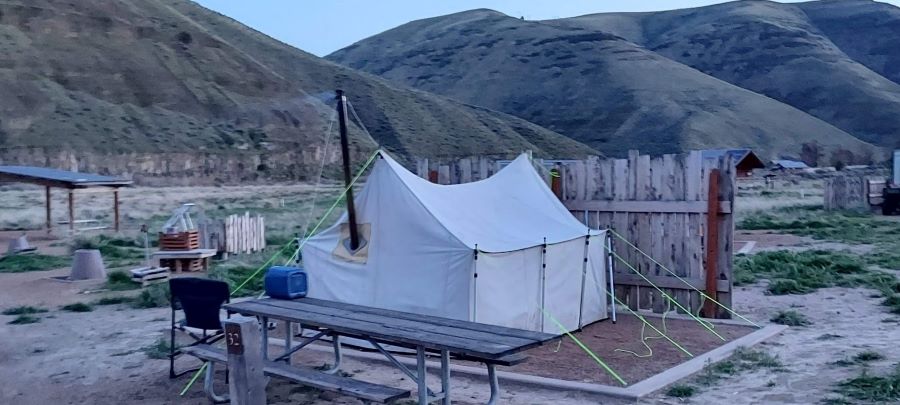 In true hippie fashion it was born of barter. Robert gave me a wall tent neither of us needed. I traded the tent to Cap’n Ron for six 12’ x 15’ eight-ounce canvas tarps. I used two of the tarps for the tipi and set the others aside for a longhouse project.
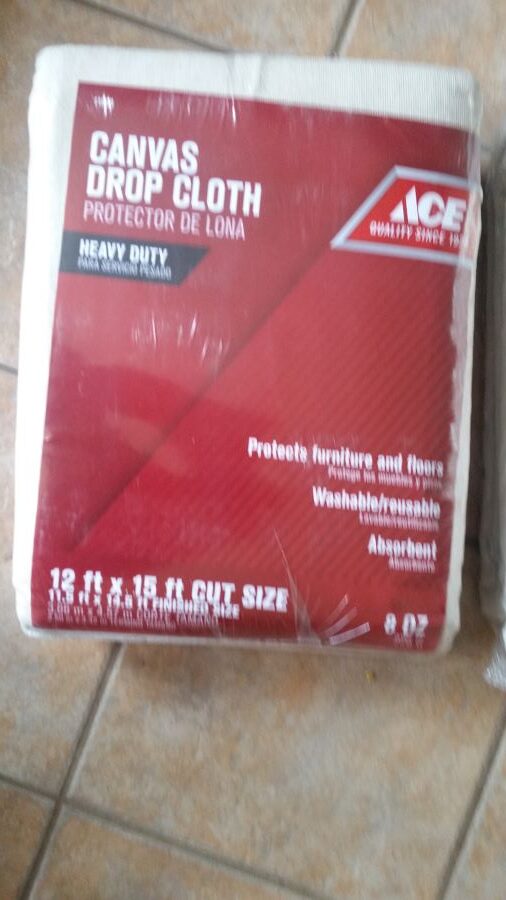
Materials cost should be less than $90, although all it cost me was the time and sweat involved in sewing it up. It took about a week of spare moments to put the tipi together. My sewing may not be pretty, but it holds together. I am pleased with how it came out.
Materials Required: 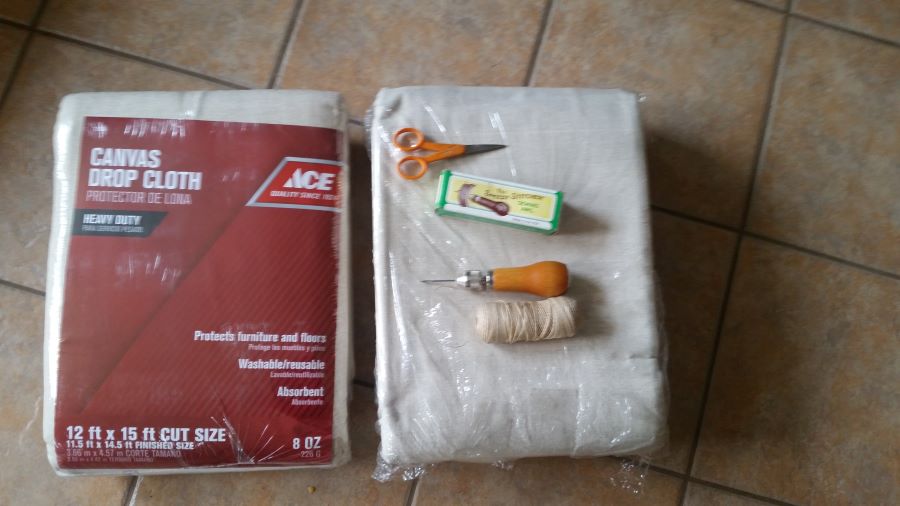
- Two 12’ x 15’ 8oz canvas drop cloths
- Speedy Stitcher sewing awl
- Large curved needle
- Waxed thread
- 10’ of ¾” lamp wick
Instructions:
Tack two drop cloths together along the 12’ edges with a couple of stitches every two feet. Using the Speedy Stitcher, sew the drop cloths together along this seam to make a 12’ by 30’ rectangle. 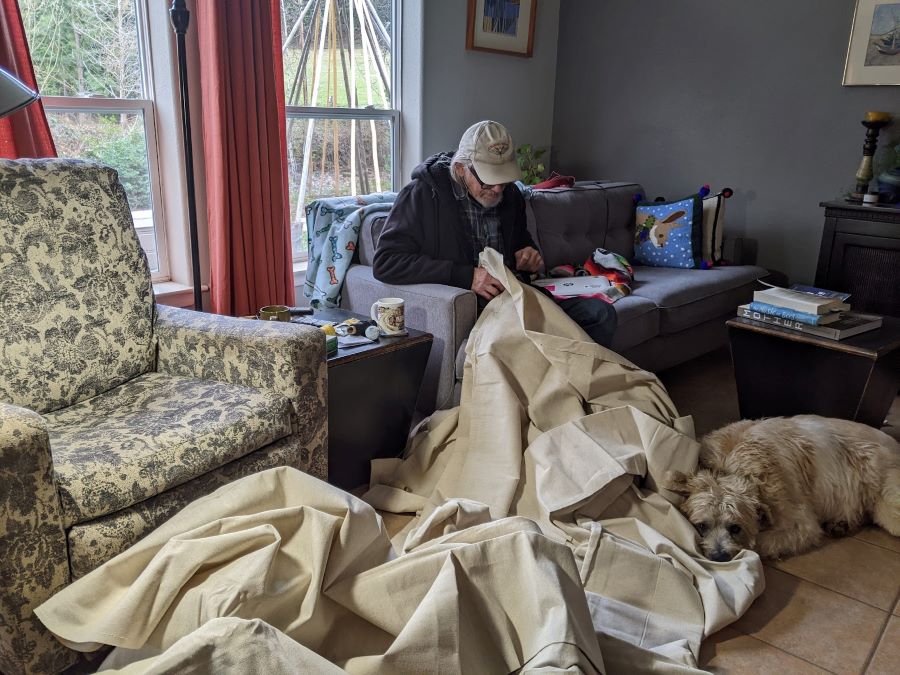
With a tape and chalk, measure and mark an arc across the canvas from corner to corner, the apogee just touching the bottom edge of the canvas where the two tarps were sewn together. To swing the arc, use a peg to anchor the dumb end of the tape measure two feet above the top edge of the canvas. 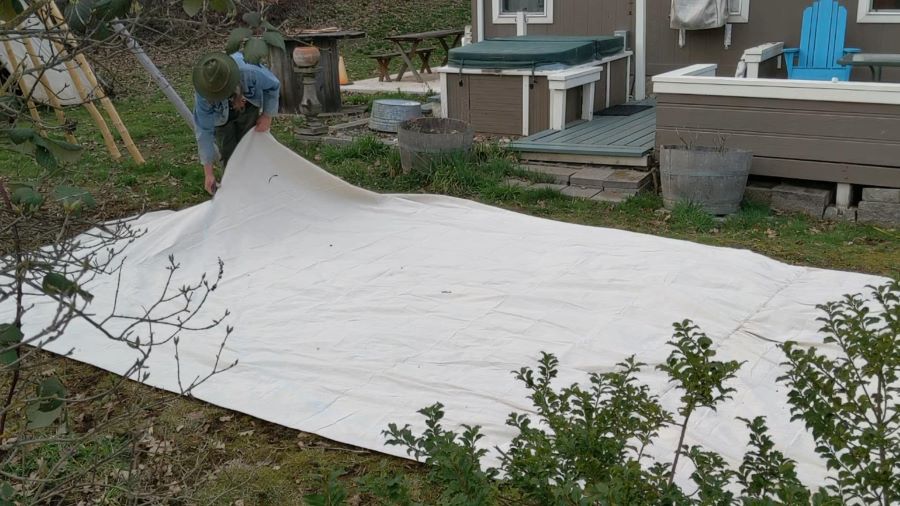
Cut the canvas along this chalk line from one corner to the center seam. Then fold the canvas in half along the center seam to assure both sides are symmetrical before finishing cutting the arc. You should end up with a half circle of canvas 15’ x 30’ and two large scraps.
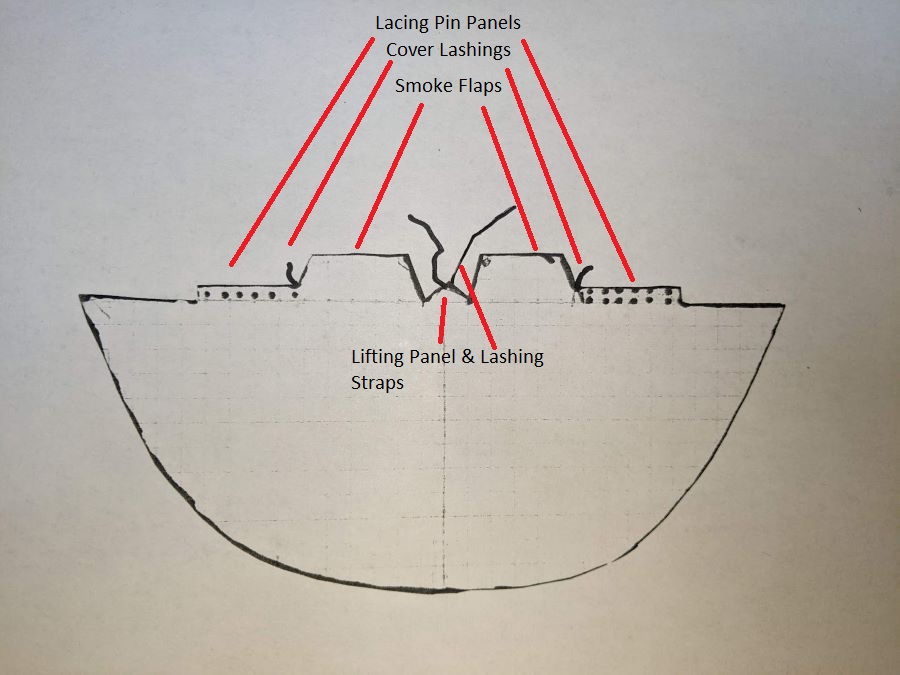
These scraps provide the material for the lifting panel, smoke flaps, and lacing panels.
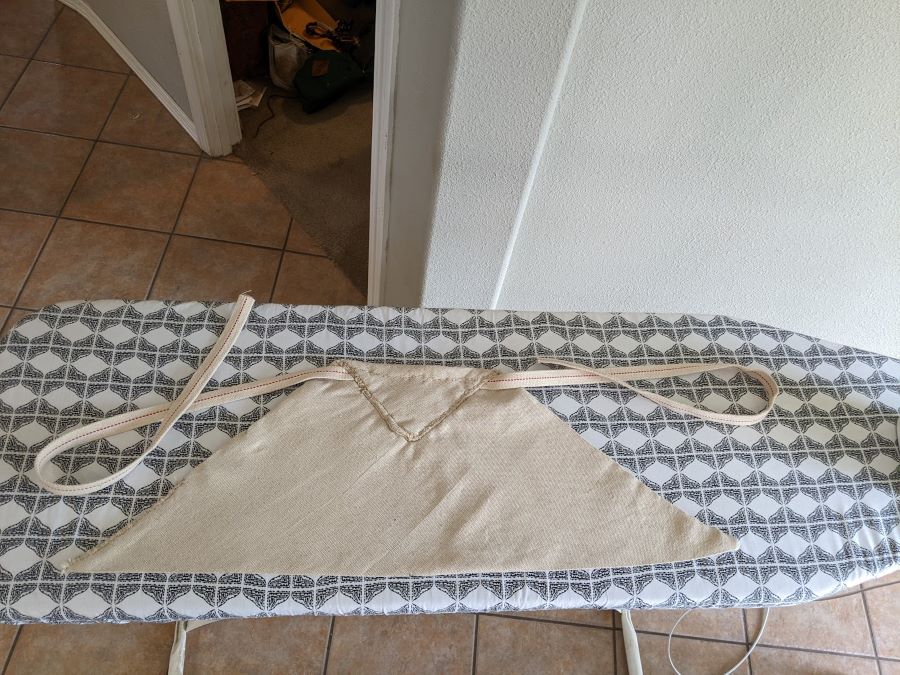
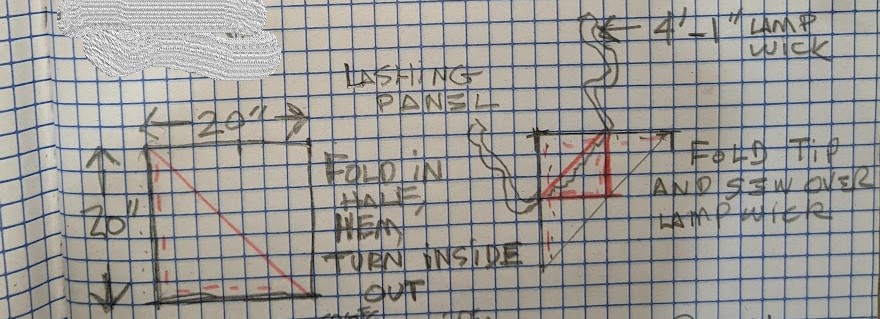
Reinforce the center of the cover where it lashes to the lifting pole with a panel made from a 20” square of canvas, folded in half, edges sewn and turned inside out. Fold the point across the center of 6’ of ¾” lamp wick and sew it down securely. The lamp wick is used for lashing the cover to the lifting pole. The lifting panel is sewn to the center of the flat edge of the cover bridging the seam where the two drop cloths are joined.
The smoke flaps measure 54” x 14” x 36” cut from the scraps in such a way that a finished edge forms one long side of the flap. Fold four inches of the bottom edge (14” edge) and hem.

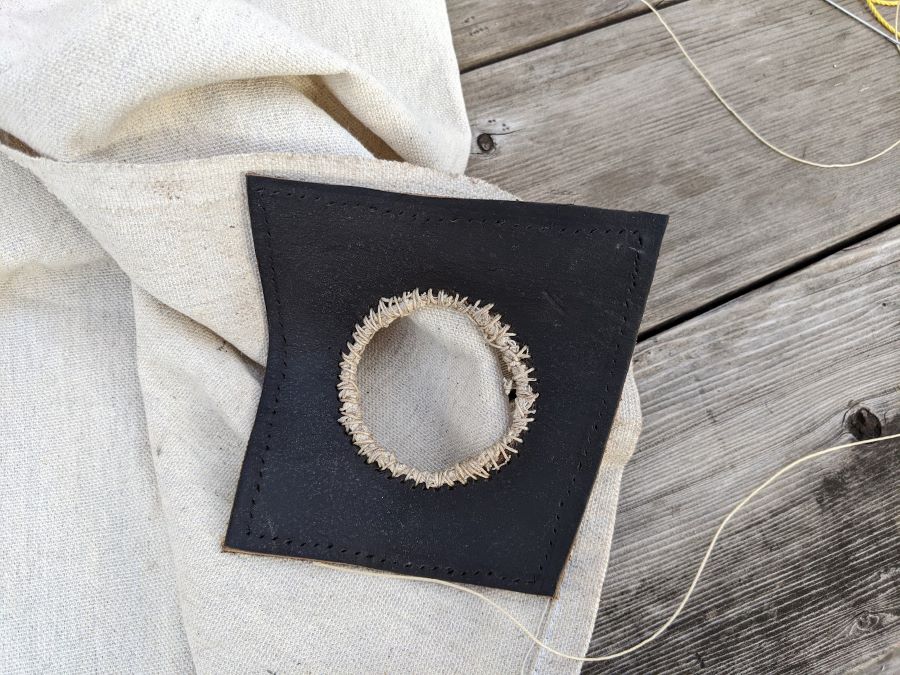 The top corner of the smoke flap where the poles slide through is reinforced with a leather patch, with a 1 ¼” hole in the center and a grommet sewn around the hole through both the leather and canvas. There is also a grommet at the bottom of the flaps for the tie-out ropes. The smoke flaps are sewn on either side of the lifting panel, stitching the long, raw edge securely to both the lifting panel and down the flat edge of the cover. The 36” edge is nearest the lifting panel.
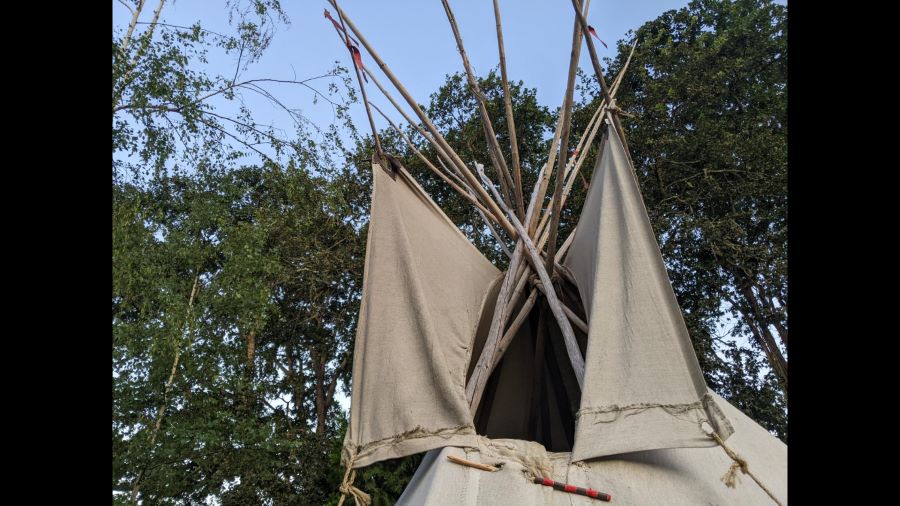
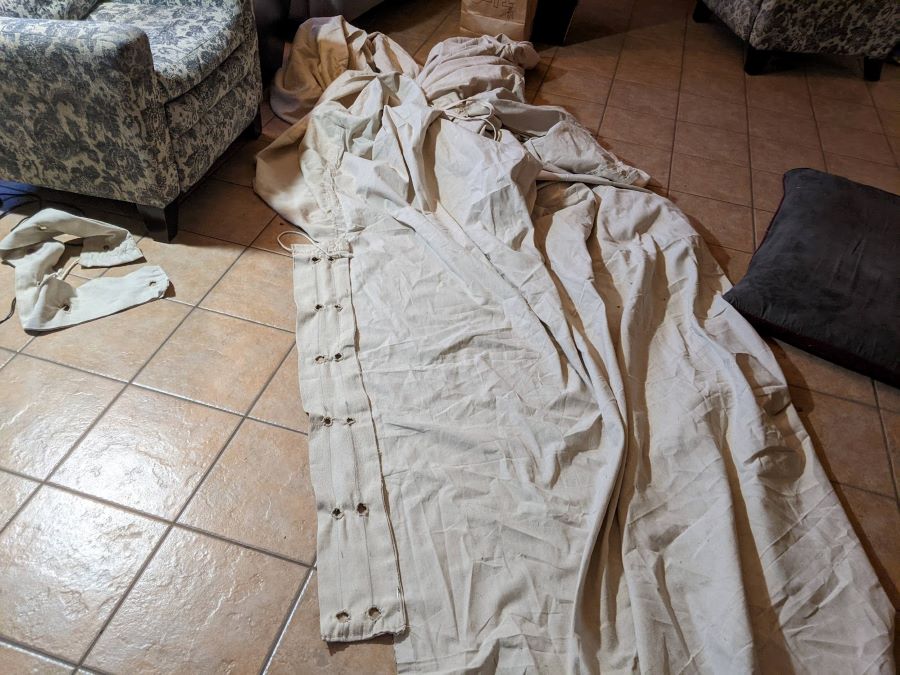
Two 48” by 12” pieces form the lacing pin panels, which will be used to pin the cover shut when the tipi is set up. Hemmed up the long side and turned inside out, the ends are folded over and also hemmed. The outside panel has two rows of six holes spaced equidistant down the center. The inside panel has a corresponding single row of holes. A grommet should be sewn around each hole to prevent fraying. 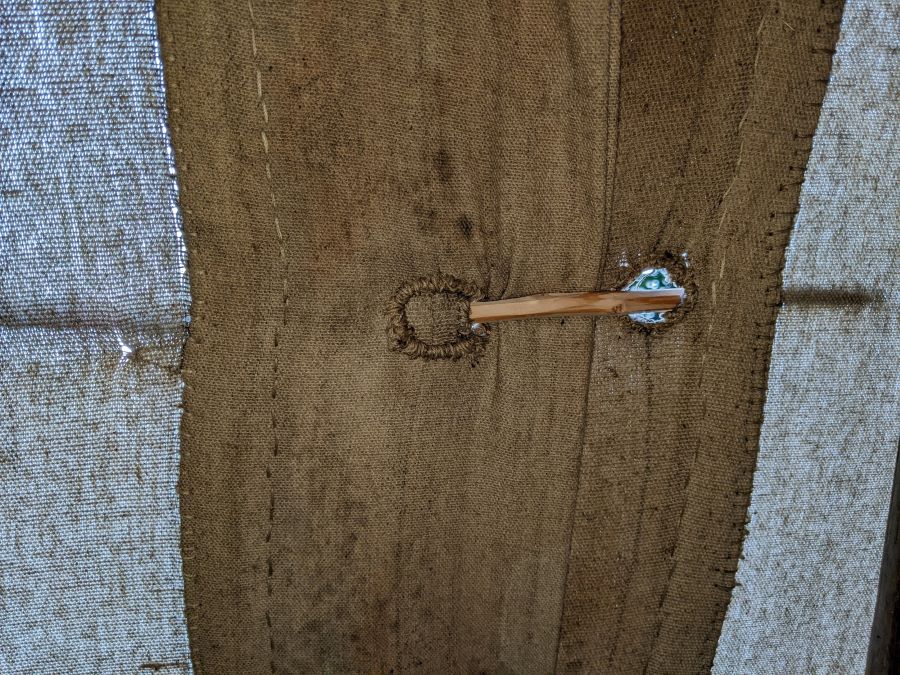
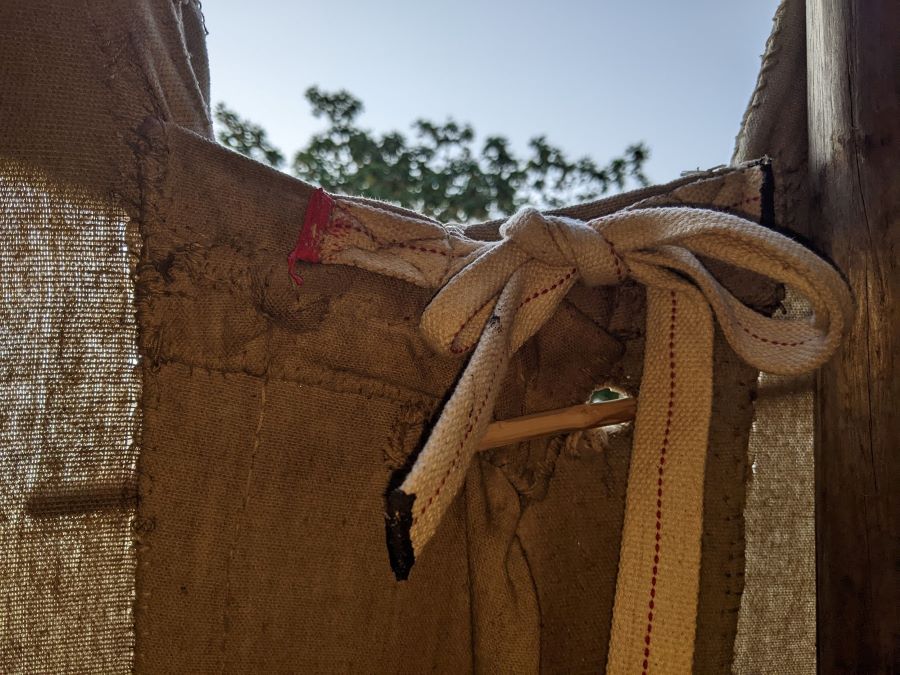
Attach the lacing pin panels to either side of the cover with the top of the panels overlapping the bottom of the smoke flap hem by about six inches. Make sure the lacing holes for the two panels line up. Sew 2’ of lamp wick at the top of each panel where it is sewn to the edge of the cover. It is important to note, the straps are attached to the top corner of each panel on the seam where the panel is sewn to the cover. They are sewn to the inside of the cover. These straps are used to tie the cover together once it is wrapped around the poles, prior to lacing it up. The panels need to be able to overlap with the straps tied.
To prevent fraying, I put a stripe of paint along the bottom of the cover where it was cut. 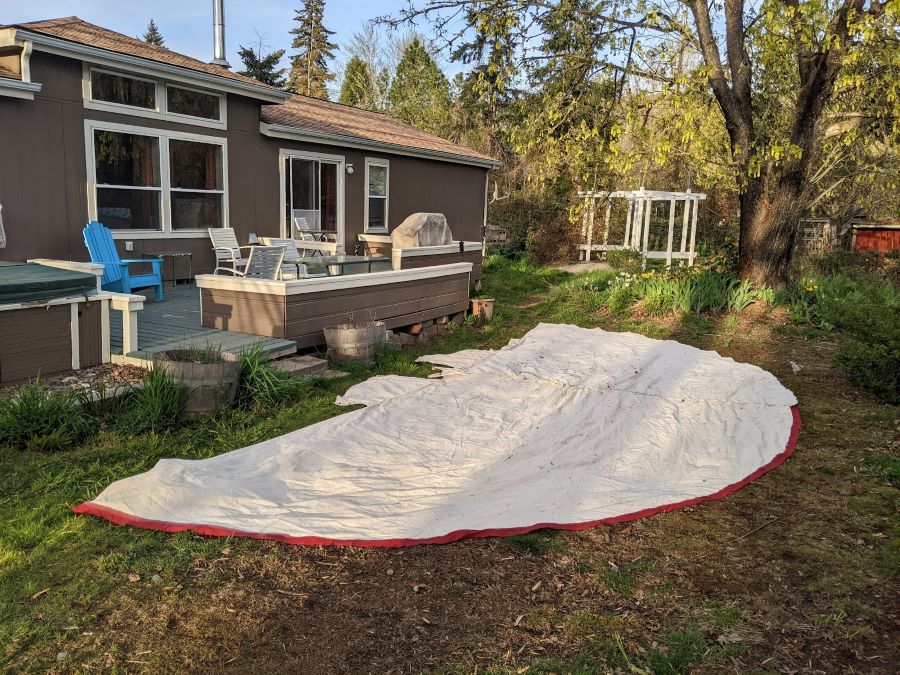
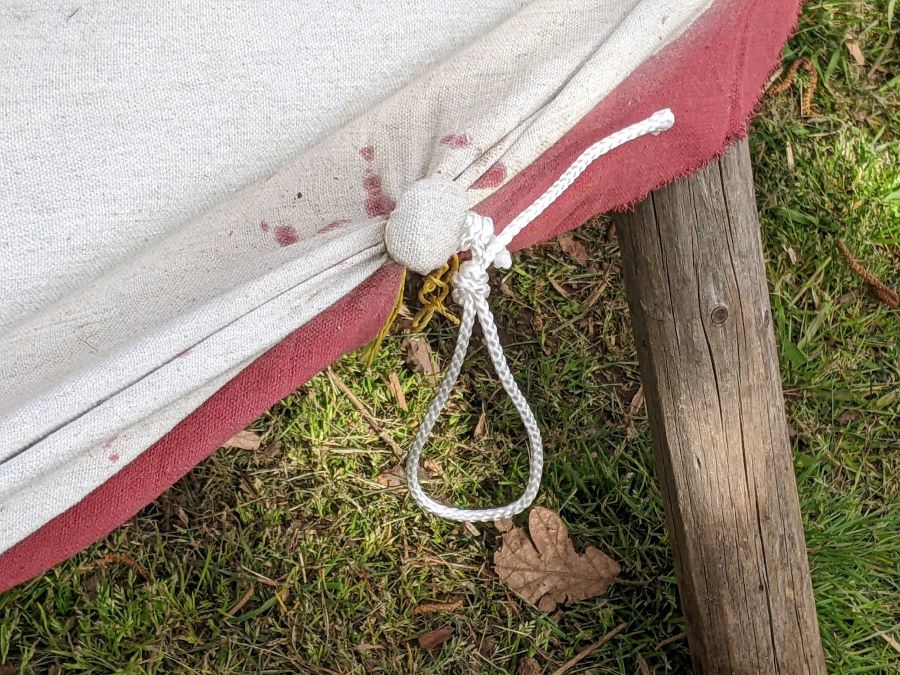
Push marbles through the canvas every two feet along the bottom edge of the cover to anchor hanks of nylon string for tent peg loops.
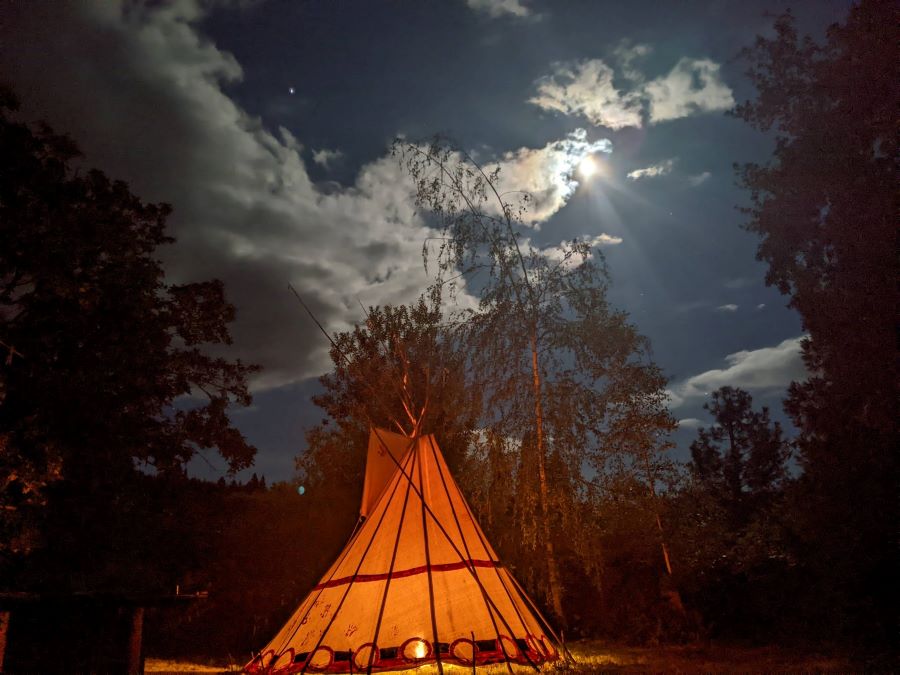
The completed cover is ready to set up on the poles and enjoy.


taking on this project, waiting on material to arrive, One question… When measuring for the arc what is the distance on the measure. You said something about 14′ to make 15′ but i couldn’t hear you clearly due to distance from mic and road noise. Thank you for your time.